Begin the "Define" section by reflecting on what you know and want to know about this "Thing."
Storytelling is a timeless communication skill that helps pass on lessons and ideas. When a visual component is added, the story becomes alive. Would Dr. Seuss’ Cat in the Hat be as powerful without the illustrations?
In this "Thing," you will explore Digital Storytelling; an exciting way to engage students in meaningful and creative multimedia projects that can also personalize the learning.
Learning Objectives
Click on each title below to see detailed information.
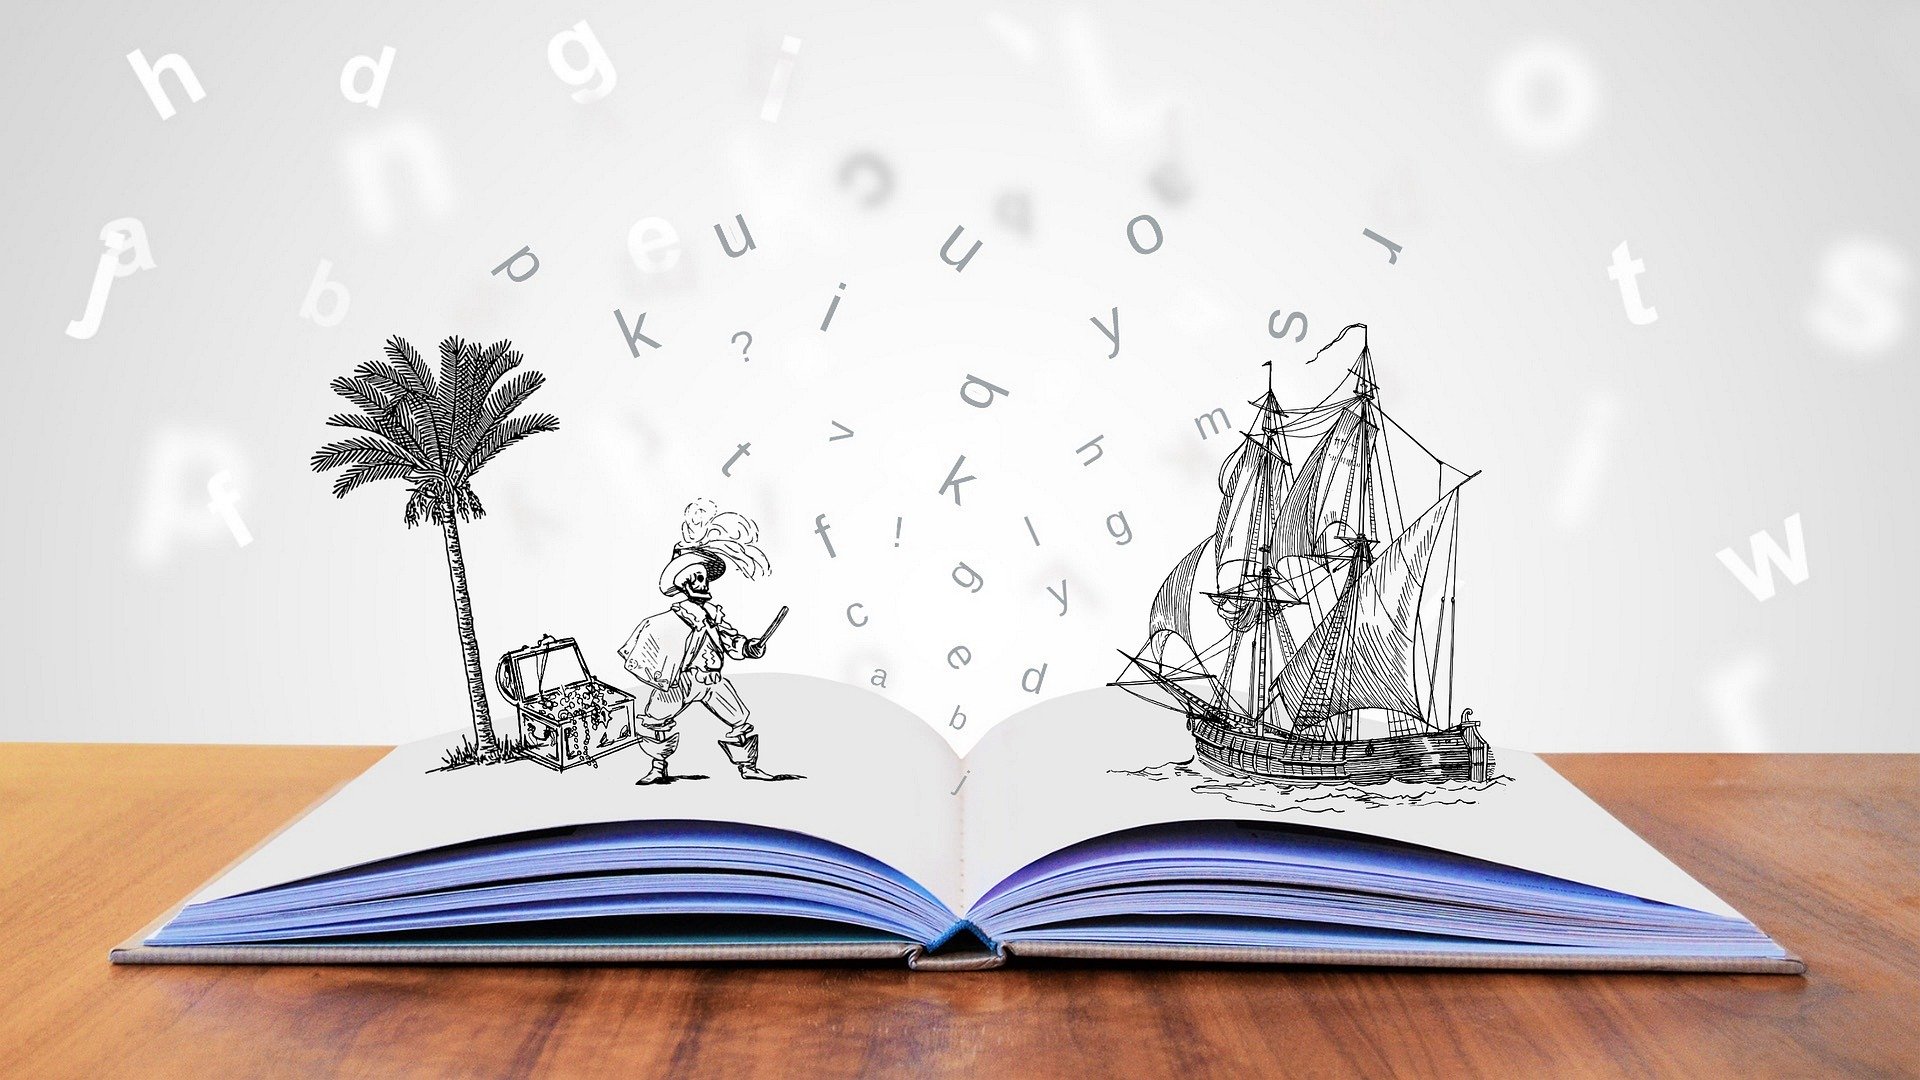
Image by Tumisu from Pixabay
Digital Storytelling is another method for students to meet a variety of content area standards and demonstrate competency. According to a presentation by Bernard Robin, Ph.D. from the University of Houston, College of Education, “Digital storytelling at its most basic core is the practice of using computer-based tools to tell stories” and in “general, they all revolve around the idea of combining the art of telling stories with a variety of multimedia, including graphics, audio, video, and Web publishing.” When Digital Storytelling is done correctly, students will experience 21st Century Learning Skills of collaboration, critical thinking, information exchange, digital citizenship, and literacy.
![]()
Start your investigation of this 21st-Century Learning Skill in the next section - Learn It.
10 Elements of Digital Storytelling
The StoryCenter (formerly Center for Digital Storytelling) is known for developing the Seven Elements of Digital Storytelling. To get a general understanding of the components, watch this video by Paul Iwancio. Select the image below to view/listen.
In order to adapt these for practical classroom application, three more have been added. Here are the 10 elements as they apply to the educational setting. (Adapted from StoryCenter.org and Educational Uses of Digital Storytelling by B. Robin)
- Point of View
What is the purpose of the story? What is the standard or learning objective? This element connects to the content knowledge in a lesson.
- Narrator’s Point of View
From the perspective of the author (student), what is the learning objective? How does the student relate personally to the content in the learning objective? This element embraces personalized learning.
- Dramatic Question
This is the main focus of the story. What does the student want the viewer to figure out by reading/watching the story? It should be interesting and is usually answered at the end of the story. This element builds literacy skills.
- Emotional Content
Students add their own emotions toward the topic so that they come alive in a powerful way. By injecting emotions, the audience can personally connect to the story. This element builds on empathy.
- Educationally Appropriate
Students should ensure that the content is appropriate to the topic, as well as, use appropriate grammar and language rules. This element also builds literacy skills.
- Voice
Students should use their own “voice”. The textual content should be original using the student’s writing style. It is also recommended that the audio track is created in a conversation manner using the student’s literal voice. This element also embraces personalized learning.
- Soundtrack
Music and sound add another dimension to the story by connecting to other parts of the brain. Oftentimes a memory is triggered by music or sound which helps the viewer remember the content of the story. The music should be original but if not, make sure to follow copyright guidelines from Thing 9. It is recommended that no vocals are contained in the soundtrack because they distract from the focus. This element helps students practice with digital citizenship.
- Images
Images are powerful and can help tell the story without text. The quality and type of media (video, GIFs, photos, etc.) needs to be considered as well as the copyright implications. For more information regarding images, see Thing 13. Students should be encouraged to take their own photos or create original videos. This element also helps students practice with digital citizenship.
- Economy
Less is more; a digital story should be 2 to 4 minutes. This is not a movie, just a short story. Students should be given guidelines for the number of images and content length because too much can be distracting. Instead, adding effects like fade-in can increase meaning without including more content. This element promotes critical thinking skills.
- Pacing
Students need to consider the rhythm and the story progression. The timing of transitions can be critical to the audience enjoyment and understanding of the material. This is usually the last element because it can be easily altered in the editing process. This element also involves critical thinking skills.
Digital Storytelling Creation Process
Once students understand the 10 elements of Digital Storytelling, they need to learn the procedure for creating their story. This process can be broken down into five steps. The infographic below represents these five steps and the cyclical process involved. Select the image to access a downloadable copy. Each step is defined below the image.

Select the image above and download a copy.
Create a Digital Story in Five Steps
Step One: Preparation; preparing to tell the story; brainstorming an idea to identify purpose, audience, and empathy components. (Elements 1, 2 & 3)
Step Two: Content; conducting research & gathering evidence; determining the connections that the story will make between the content standard and themselves or others. (Elements 4 & 5)
Step Three: Storyboarding; writing an original script and planning the sequence for adding multimedia components. (Elements 6, 9)
Step Four: Creation; create final product; using digital tools to add multimedia components such as audio, sounds, images, etc. (Elements 6, 7, 8 & 10)
Step Five: Sharing; feedback, revising and “publishing”.
STOP & THINK
Now it’s your turn: Identify one of your content standards that students could explore by creating their own digital story. It should be one that involves a bit of the unknown or something that would make an interesting story.
![]()
Now that you have investigated the many steps involved in Digital Storytelling, move on to the next section - See It.
Since creativity is at the heart of Digital Storytelling, the process can be used at all grade levels and content areas. Besides actually telling a fictional story, the Digital Storytelling process can be used by students to create visual poetry, book trailers, news reports, video biography interviews, public service announcements and so much more. The key here is that the student decides how to “tell the story” as it relates to the content standard. Personalized learning! Read Creative Educator’s Six Ways to Implement Digital Storytelling to learn how to connect creativity with content.
Here are some video examples of how teachers are using Digital Storytelling.
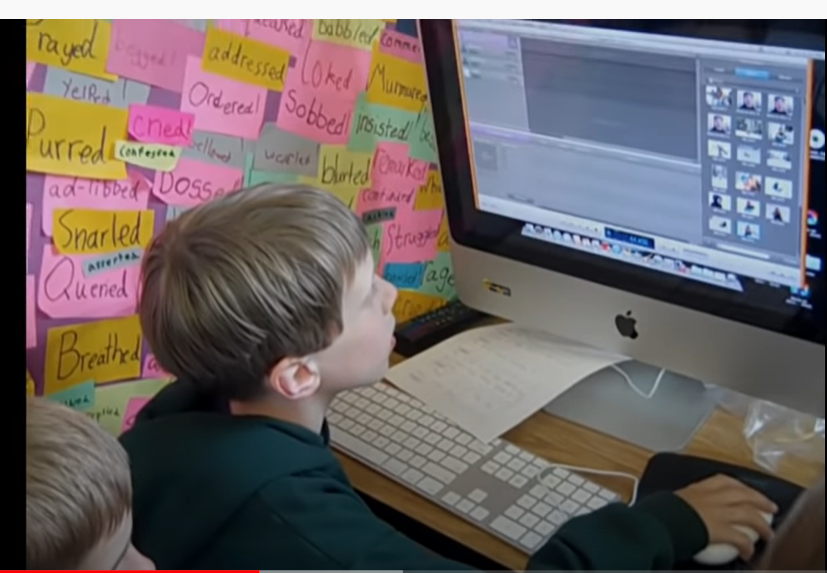
Digital Storytelling in the Elementary Classroom
Oregon Writing Project at University of Oregon: This digital story emulates the process a 2nd/3rd grade class went through learning how to create digital stories using GarageBand's Enhanced Podcasting feature. Select the image below to view/listen to the 5 minute video.
Student News Teams: Letting Students Tell The Stories
Who tells the stories about all the great things happening in your school? See how Michigan teachers Brad Wilson, Greg Vieau (Michigan Center High School, REMC 15), and Mary Phillips (Dudley STEM School, REMC 12E) organize student teams in their schools to let students connect with their classmates and communities through news stories. Select the image below to view/listen to the video (15 minutes).
Digital Storytelling: Explain It In Your Own Words
Having students explain something in their own words has moved beyond just paper and pencil. See how Karen Bosch, an art teacher and Apple Distinguished Educator, at Southfield Christian Schools allows her students to demonstrate what they understand using a wide variety of digital media sources. Select the image below to view/listen to the video (15 minutes).
![]()
Now that you have seen Digital Storytelling in action, move on to the next section - Try It.
When creating a digital story, it's best to break down the process into the five steps mentioned in an earlier section. That's what we have done here and included tools to assist with each step.
Tools for Step One: Preparation
- Ideas/Topics - Find a topic that relates to a standard or objective. Topics can range from personal, fictional, documentaries, and everything in-between.
- Ideas for Digital Storytelling Across the Curriculum
- Educational Uses of Digital Storytelling by Robin, B. (2020). The Educational Uses of Digital Storytelling Website, University of Houston College of Education
- Research the topic - Refer to Thing 10 for more ideas.
- Organize information - Label and save your multimedia elements into a folder for easy integration in your story. Refer to Thing 7 for more ideas.
- Create a document - with the source URLs and titles so you can give proper credit for each media element. Focus on using Fair Use images, sounds, etc. Refer to Thing 9 for more ideas.
- Create images or videos - to incorporate into the story with apps like ChatterPix Kids (iPad/iOS) and Animoto Video Maker (Android/iOS) and Shadow Puppet Edu (iPad/iOS). Refer to Thing 13 for more ideas.
- Create animated characters - with app Tellagami (iPad/iOS) and Puppet Pals (iPad/iOS) and ThingLink (Android/iPad/iOS).
- Create comics with Comic Strip! - Cartoon & Comic Maker app (Android) Refer to Thing 13 for more ideas.
- Create audio recordings with Audacity (cloud based) and SoundCloud (cloud based). Refer to Thing 3 for more ideas.
Tools for Step Two: Determining Connections - Content
- Students develop their Dramatic Question based on their Point of View. To help, try using a digital mind mapping tool like MindMeister.
- Students determine the audience for the story.
- Students receive feedback using collaborative tools like those found in Thing 5.
Tools for Steps Three and Four: Storyboarding and Creation
In an effort to save time in the classroom, steps three and four are often combined. Here are some popular tools that can do both:
- This template of a basic storyboard can be printed for “unplugged” storyboarding. The squares are for the drawings, and the lines underneath are for the script. Good idea for younger students.
- These are some online storyboard templates - Ultimate Storyboard Resource List and StoryboardTHAT.
- There are also online storyboarding generators like Canva.
- PowerPoint and Google Slides are great for storyboarding because you can easily shuffle the slides and change the order as well as use the collaborative nature of the tools. Refer to Thing 5 for more ideas.
- LIttle Bird Tales Storytelling app - iPad/iPhone (stories kept for 90 days with free version)
- Sock Puppets Complete app (iPad/iOS)
- Storyjumper online (create with option to publish)
- Presentation tools like Animoto and Microsoft Sway. Refer to Thing 14 for more ideas.
Tools for Step Five: Sharing
Most of the storyboarding tools also have a method of saving and sharing the end result. Here are some other tools that can be used:
- Use a publishing kit like Studentreasures.com or Scholastic.com.
- When the final copy is ready, consider converting to an EPUB file (ebook) so that it can be shared with the “world”.
- Use a Cloud based Suite Tool from Thing 5
Personalize the Learning with Digital Storytelling Choice Boards
Having students create their own Digital Story by choosing the content as well as the multimedia creation tools is the perfect example of personalized learning. One method of accomplishing this in the classroom is to create (or find) choice boards. Here is an example:
Lisa Highfill - Show What You Know Bingo - Digital Storytelling Choice Board
STOP & THINK
Now it’s your turn: Using your social bookmarking site, create a Digital Storytelling “folder” and save one of these tools per step or modify one of the choice boards. You’ll be all set the next time you want to have your students create a digital story.
This is the last section of "Thing" 15's Define playlist. Now would be a great time to revisit your Reflection Document and think about what you learned in this "Thing." Capture a screenshot of your results from the Knowledge Check and post them in your Reflection Document. As you move forward, consider the following: How might you use this in your own professional practice? What goals might you set for yourself, including activities, timelines, and evaluation? What connections did you make to the ISTE Standards or your own content area standards? How will you monitor your own progress towards these goals? Then proceed to the next section.